 Writer: James Robinson
#9, July 1995
Shards
This story starts with a recap of the last scene of the previous issue: Jack celebrating with the freaks. We are told that Jack returned to the circus only twice. Once, to pick up Mikaal, who he learned from the Shade’s Journal was the Starman of the late 70’s. He took Mikaal to Ted’s house, Ted anxious not only to study an alien but to help his former namesake recover his ability to speak English; something he had been able to do, according to Shade’s journal.
The second time Jack returned to the circus, he spoke to Octavia, who had made arrangements for the freaks to rent the field from a local farmer and live there. The two stayed up late, drinking, talking and eventually making love. The two agreed it was a one-time thing and that they should remain friends. We are then told that Crusher, Bliss’s right hand man, disappeared after Bliss’ defeat and that the encampment of tents where the freaks lived became known as Freak Town.
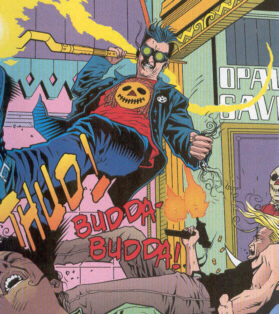
Jack returns to Opal and tries to get back into his regular life again, stopping in his efforts to rebuild his store only to stop a robbery attempt. Later, Jack discusses the robbery with Ted and speaks about how he is now feeling good about what he is doing as Starman. Ted then notices that Jack is wearing a shirt with a stylized ragdoll face on it. He chides Jack for wearing the shirt when Jack KNOWS he doesn’t like it. Jack apologizes, said he didn’t mean to wear it on purpose. He then asks why the image bothers Ted so much, thinking it must have something to do with Starman and that if it does he should know.
Ted then relates the story of the Ragdoll: a Golden Age enemy of The Flash who formed a cult of killers in the early 80’s. He notes that the image on Jack’s shirt, despite looking like the Scarecrow from The Wizard of Oz or Raggedy Ann, was the same face as the Ragdoll’s mask. Jack then recalls that Ragdoll was often called “Opal City’s Charles Manson”.
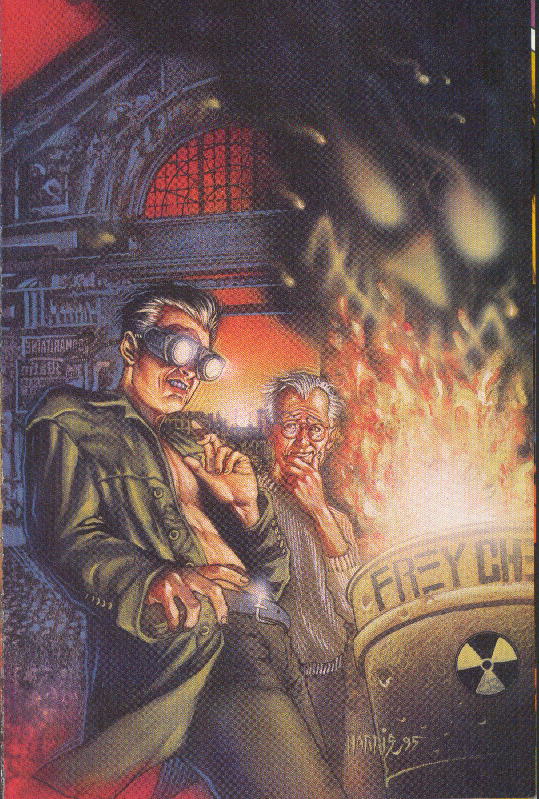
Ted says that things became so bad that he called in four other members of the Justice Society; Alan (Green Lantern), Jay (The Flash) , Chuck (Dr. Midnite) and Rex (Hourman) to help him deal with all the crime. Alan, Jay and Ted each searched the city for Ragdoll, eventually finding and capturing him. Ragdoll threatened to use his cult to strike out at the loved ones of the three heroes. By this time, their identities were public knowledge and it would be all to easy for Alan’s employees, Jay’s wife and Ted’s children to be hurt. He then tried to escape, the three heroes got confused… and in the aftermath… Ragdoll was dead. (We later get a more detailed presentation of this story in Starman #11)
Ted notes that they weren’t sure who it was, but they knew that one of them HAD to have killed Ragdoll. That, coupled with the needless death and suffering in his city, was what made Ted uncomfortable about the Ragdoll image. Jack agrees to burn the shirt when he gets home, and notes to Ted that he would break his oath to never take a life again if Ted’s life were in danger.
We have a series of interludes here at the end. In the first, we see another person (this time, a young beat cop) is pulled into the Poster. This time, however, we see Shade appear and examine the area where the poster was sometime after Merritt disappears with the poster.
We then see Jack wandering around Opal, still bargain hunting.
We see Matt O’Dare, and what he does that day. First, he cuts the thumb off a criminal overdue with a payment. Next, he takes items from the evidence room at the station and “loses” them. Finally, he eats dinner with a member of the local Mafia… all the while images of an Old West sheriff, a white man who was also a Native American still in his head. Not just in dreams now, but coming to him when he is awake. And now along with the images comes a voice, who tells Matt that all he is doing is wrong. Matt knows the voice isn’t his conscience, but he has no idea WHAT it is.
The final interlude takes place in Nash’s prison cell. Nash has cut her hair short, in a style similar to that of her brother Kyle. We learn that Nash has seduced three guards and two inmates, who she planned to use to escape. She does escape, and we see inside her cell where she has a framed picture of Jack, the words “Jack is to blame” and “Die Starman” written all over the walls of her cell and a note on her bed that reads “Wait and see what I become”. The issue ends with an image of Jack, content and about to fall asleep… just before we are told that the phone will ring in less than a minute with the news of Nash‘s escape.
| PREVIOUS | BACK | NEXT |